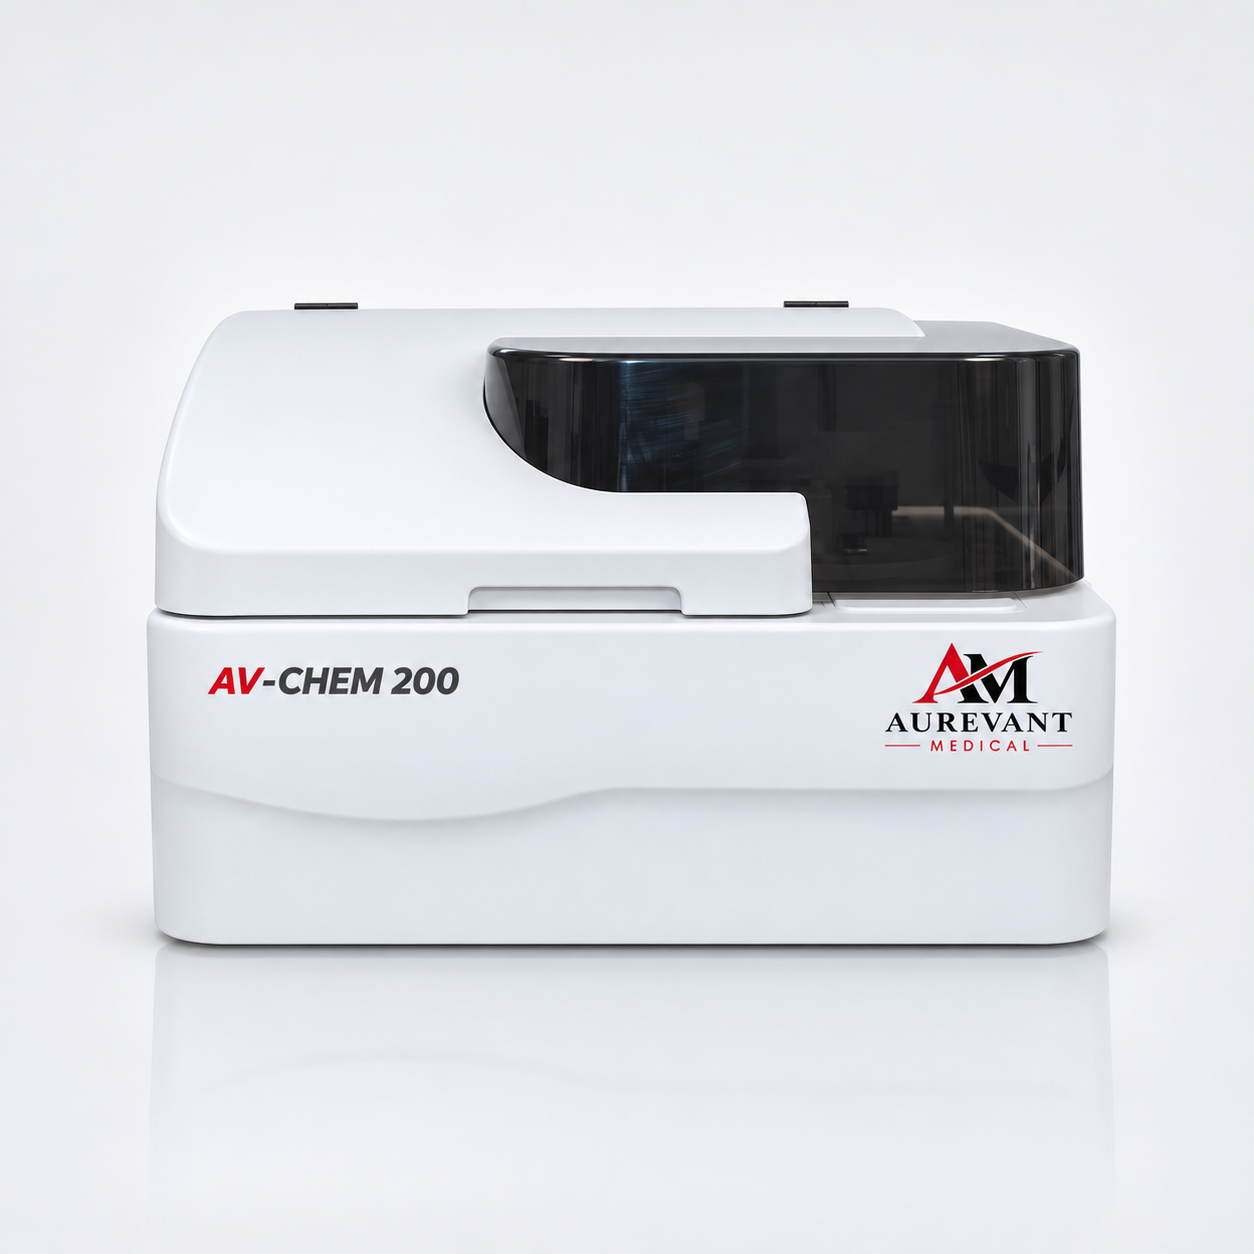
AVMed-200 Auto Chemistry Analyze
The AVMed 200 Auto Chemistry Analyzer is a compact, high-efficiency, fully automated system designed for in-vitro diagnostic testing. It delivers precise and reliable biochemical test results across serum, plasma, urine, and cerebrospinal fluid samples, making it an ideal solution for hospitals, diagnostic labs, and research facilities.
No approved datasheet is available for this product yet.
Overview
Product name and code identify the record only; they are not a substitute for current product documentation. Confirm intended use, configuration, availability, supported applications, and all technical and commercial terms in writing before procurement.
Features
- •– Automated reagent loading and tracking
- •– Paddle-type mixer to minimize carry-over
- •– Barcode scanning for sample ID tracking
- •– Air purge system to eliminate bubbles
- •– Built-in quality control with multi-level reports
- •– Alerts for reagent usage and maintenance
Safety Information
• Ensure the analyzer is connected to a properly grounded power outlet (AC 220V/110V, 50/60Hz).
• Avoid using damaged cables or power plugs.
• Turn off and unplug the device before performing maintenance or cleaning.
– Operational Safety:
• Only trained laboratory personnel should operate or maintain the analyzer.
• Wear appropriate PPE such as gloves, lab coats, and safety goggles.
• Handle samples and reagents carefully to prevent contamination or exposure.
• Never open the instrument casing while in operation.
– Chemical and Waste Safety:
• Use only approved reagents recommended for the FAA 200 system.
• Dispose of biological and chemical waste according to local biosafety and waste regulations.
– Environmental Conditions:
• Operate in a clean, dust-free, temperature-controlled environment (15°C to 30°C).
• Keep away from direct sunlight, humidity, and vibrations.
– Emergency Handling:
• In case of spills or exposure, follow lab safety protocols immediately.
• For technical issues, contact Accurex Biomedical technical support; do not attempt unauthorized repairs.
Directions for Use
– Place the analyzer on a stable, vibration-free bench.
– Connect the power supply and ensure proper grounding.
– Fill the water tank and connect drainage.
2. Startup Procedure:
– Power on and perform system self-checks.
– Check reagent and sample trays.
– Ensure cuvettes are clean and ready.
3. Loading Samples and Reagents:
– Load patient samples into the 40-position sample tray.
– Load reagents into the refrigerated reagent tray with barcode labels.
– Use only validated reagents.
4. Running Tests:
– Select tests using the Windows-based software.
– Scan barcodes for identification.
– Confirm parameters and start the automated run.
5. Post-Run Maintenance:
– Review/export results via LIS or print reports.
– Flush system with water or cleaning solution.
– Perform daily and weekly maintenance as per the manual.
6. Shutdown:
– Power down properly.
– Clean trays and wipe external surfaces.
Specifications
Applications
Confirm the analyzer's intended purpose, validated assay menu, specimen types, and any use limitations for your laboratory and destination market. Do not assume an assay or application is supported because it is common in the industry.
Approved documentation
Downloads
No approved documents are currently associated with this product.
Product questions
Frequently Asked Questions
No product-specific FAQs have been published.
Product enquiry
Request a Quote
Request model-specific availability, configuration, delivery, warranty, training, and service information.